Tormented Souls 2 – Review
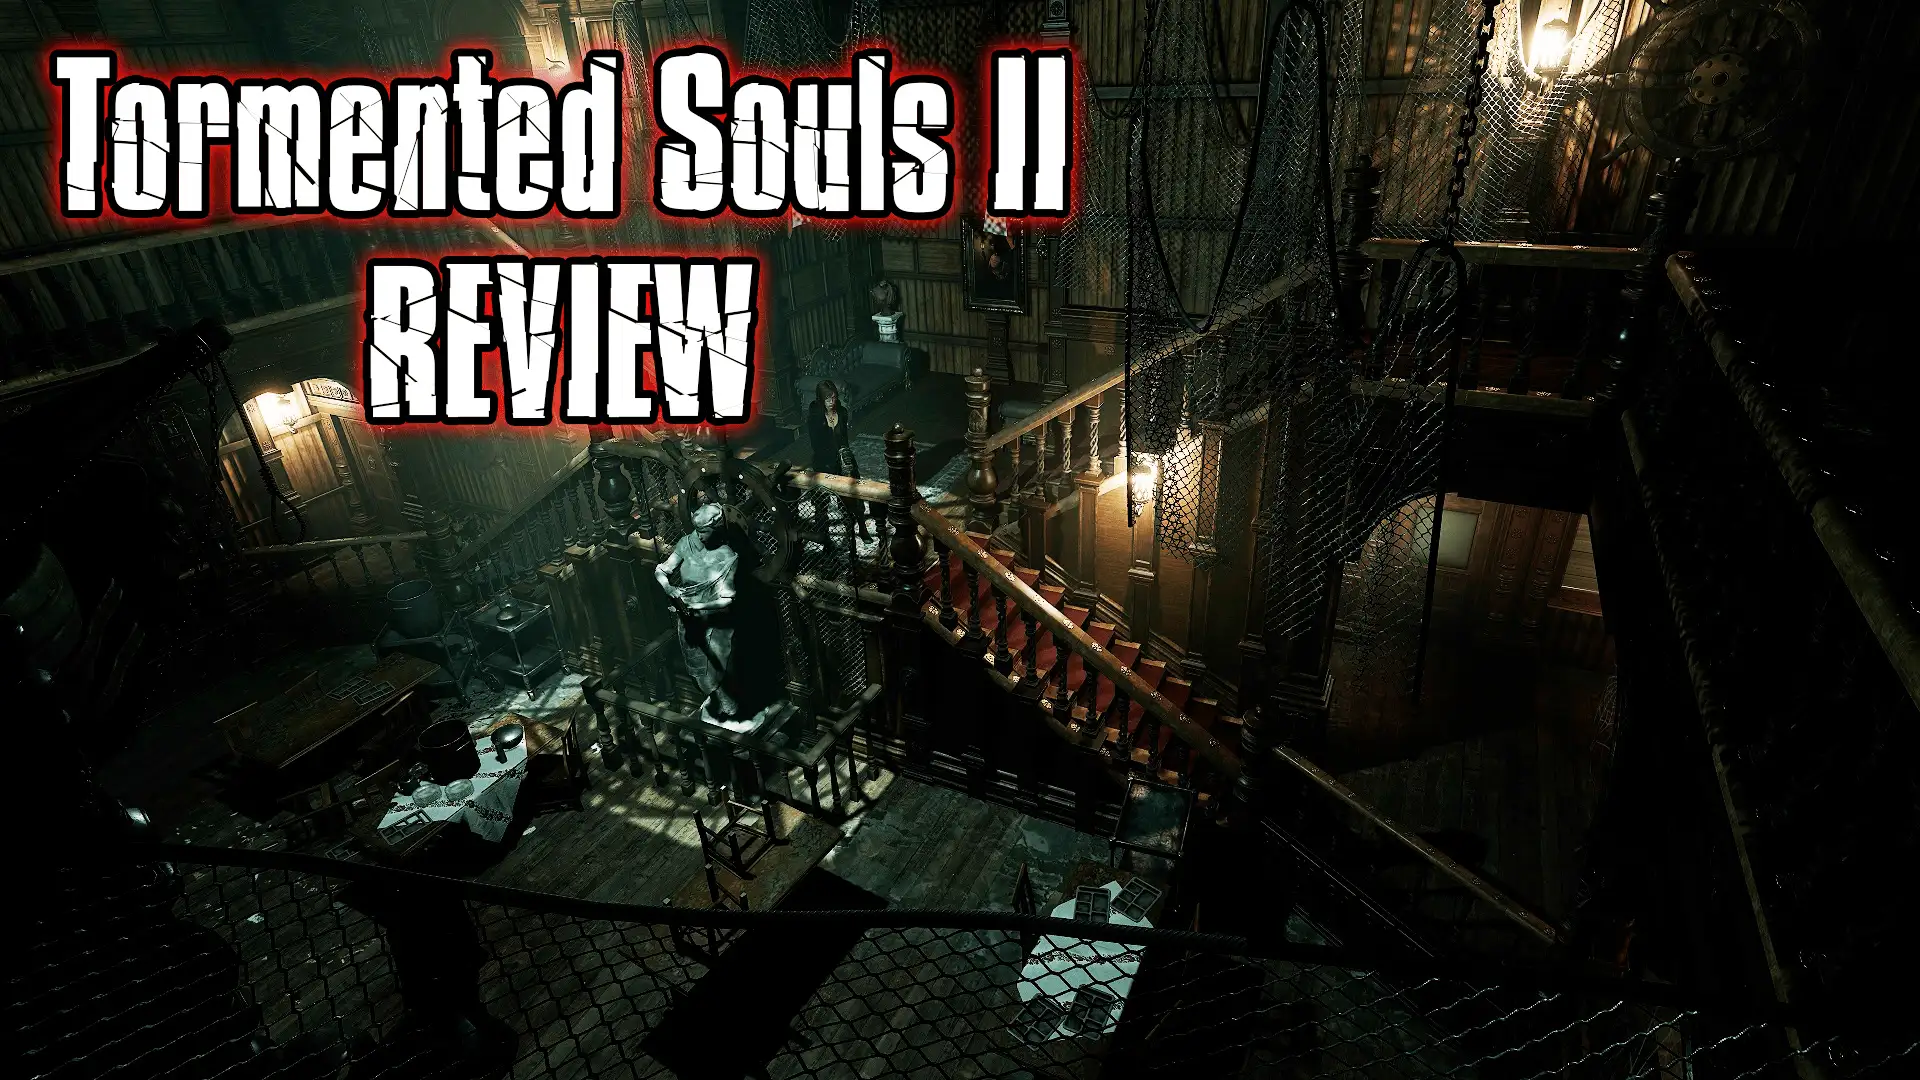
It is easy to label Tormented Souls 2 as just another Residet Evil and Silent Hill like game, but it is far more than that.
Tormented Souls 2 – All Puzzle Solutions
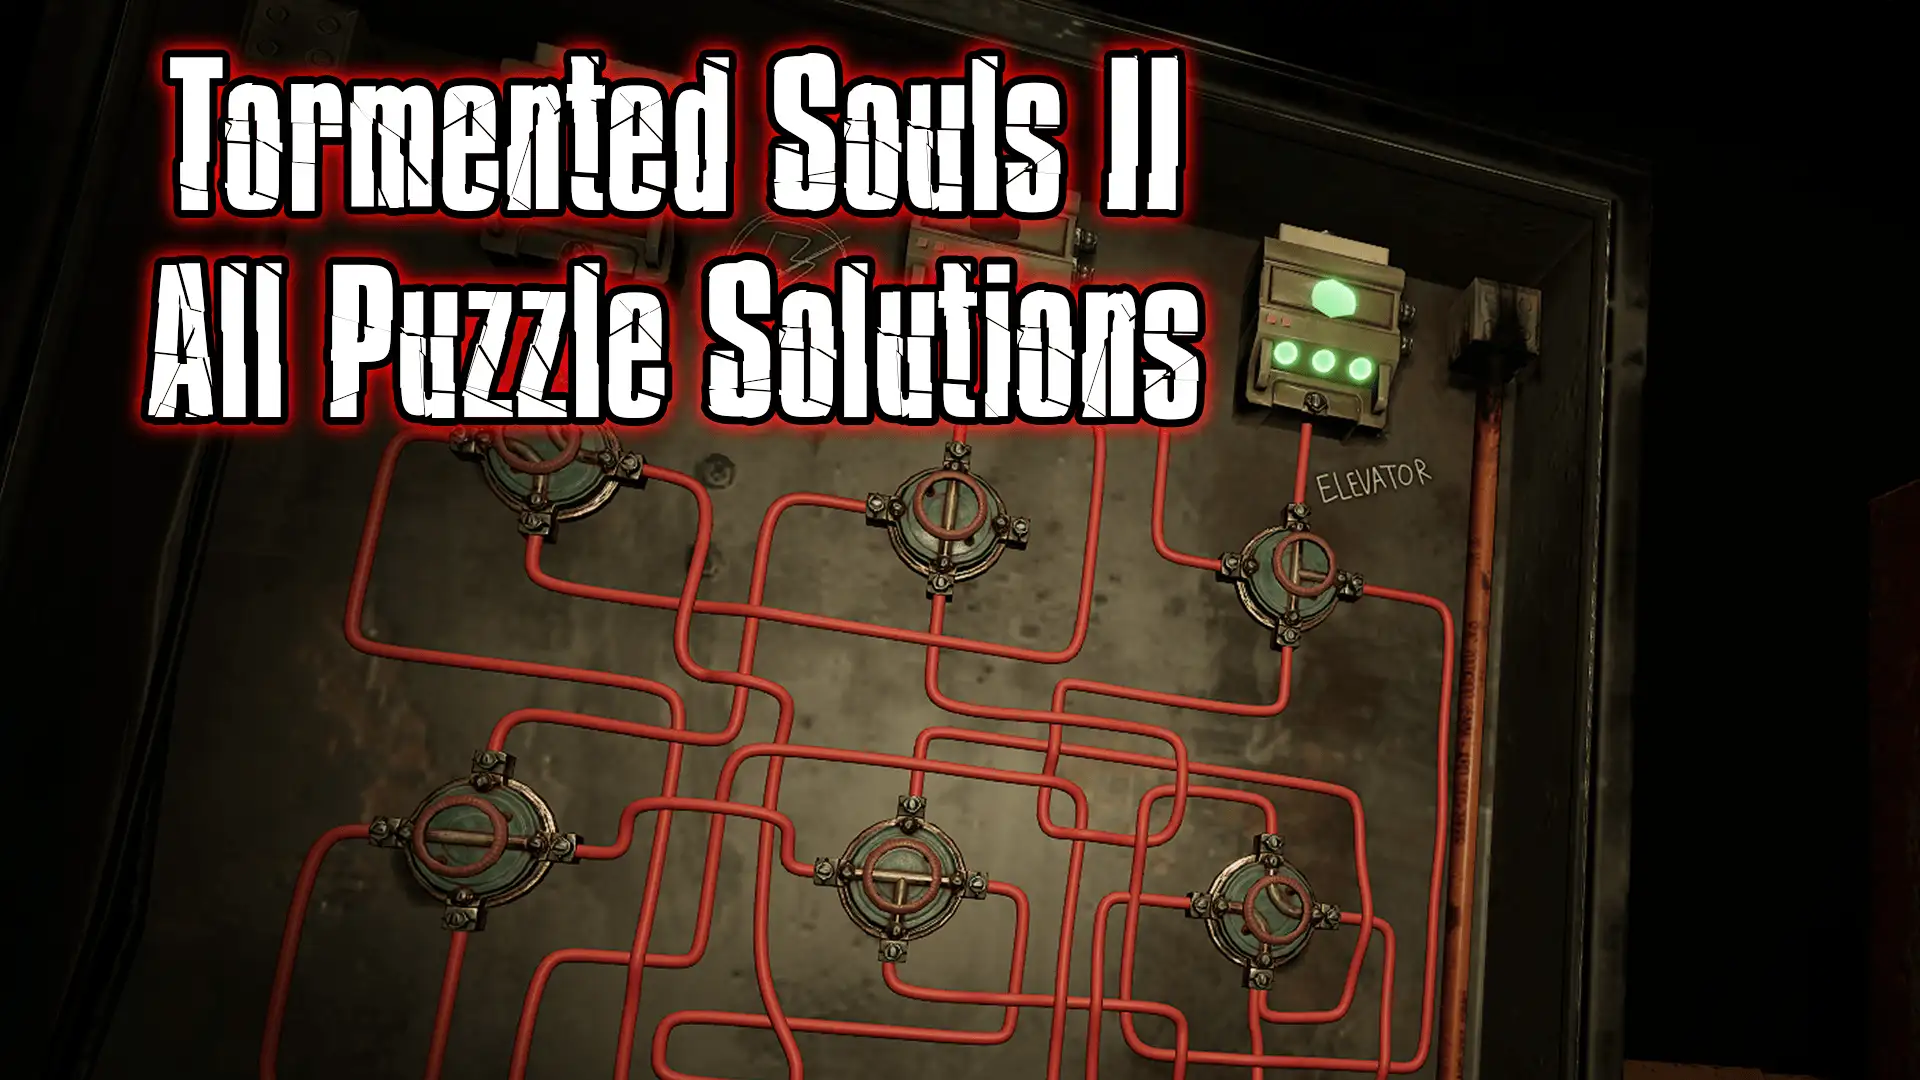
Tormented Souls 2 brings back classic survival horror puzzle-solving and along with it a lot of head-scratching moments. If you’ve found yourself stuck on one of the game’s many puzzles, this complete guide will help you through every step. Below you’ll find all puzzle solutions in Tormented Souls 2, including the required items, where to find them, and screenshots showing each puzzle. Need extra help or want to share your own discoveries? Join our Discord community, where players share hints, theories, and screenshots in real time.Also if you would like a video walkthrough that is time stamped for every puzzle please check our the series below. Flower lock Location: Convent – Infirmary Items needed: Christ book, Thumbtack Solution: Combine the thumb tack with the Christ bookNotes: The thumb tack can be found on the cork board, the Christ book is found next to the stretcher nearest the lock Lighter in corpse Location: Convent – Bell Tower (bottom) Items needed: Pliers Solution: Use the pliers on the cage of the corpse to obtain the lighterNotes: Pliers can be found in the Staff Room on F1 Elevator power Location: Convent – North CorridorItems needed: Test item1, test item 2 Solution: Find the power box opposite the door to the Lady Chapel Padlocked door to Courtyard Location: Convent – North Corridor Items needed: Hammer Solution: Interact with the padlock then use the hammer to break itNotes: The hammer is obtained from the Crematorium in the basement Bell Tower glass (Shotgun) Location: Convent – Bell Tower (top) Items needed: Hammer Solution: Hit the bells in order to smash the glass casing and allow the player to obtain the shotgun:3 (third largest)1 (largest)4 (smallest)2 (second largest)Notes: The hint is found by interacting with the plaque below the glass casing. The hammer is found in the crematorium Gallows Location: Convent – CourtyardItems needed: Pliers Solution: Use the lever next to the gallows to drop the torso down, then use the pliers to remove the saw bladeNotes: Pliers can be found in the Staff Room on F1 Frozen hand Location: Convent – KitchenItems needed: Saw blade – Saw handle Solution: Combine saw blade parts and use handsaw on the frozen handNotes: Saw blade can be found in the Courtyard, saw handle can be found in the refectory behind a hidden entrance – find it by moving the moveable shelves Melting the frozen hand Location: Convent – KitchenItems needed: Lighter Solution: Locate the cooker and open the oven door by selecting it, then use the lighter on the wood to start a fire. Place the frozen hand on top of the stove to melt it and release the Cryptex Cryptex Location: Convent – KitchenItems needed: Chess Paper Solution: Examine the back of the chess paper and locate the black lines. The lines show the movements of chess pieces on a board. Use these to turn each section of the cryptex to the corresponding chess piece i.e. L shape is a Castle, Y is a Rook etc.Notes: The chess paper is found in the Calefactory room. Solving the Cryptex gives the crown key for the locked door in the basement Crown lock Location: Convent – BasementItems needed: Crown key Solution: Obtained by completing the Cryptex. Unlocking the door leads to the Prison areas Prison cell power Location: Convent – PrisonItems needed: Pliers Solution: Use the pliers on the wire to open the fuse box then turn the dials so that they point to the symbols that fit inside the shape shown./ \ \ \ /Go through to the other room where the cells are found and use the lever on the platform to power them.Notes: The paper hint is found in one of the cells in the Prison Cursed book Location: Convent – PrisonItems needed: Christ book Solution: Swap the cursed book with the bible, then deliver the cursed book to Joseph in the Crematorium Museum door Location: Convent – MuseumItems needed: Museum Key Solution: Use the key on the three star bolts going from middle to right to left, then select the handle to slide it awayNotes: The museum key is obtained by delivering the cursed book to Joseph Telephone / Jade disc Location: Convent – LibraryItems needed: Old telephone dial – Yellow page Solution: Attach the dial to the telephone base in the library then enter the code 3890*. The jade disc will then be revealed behind a nearby paintingNotes: The solution can be found by flipping the yellow page paper and using the lines on both sides to create the numbers. The rotary dial is found in the basement, accessed via the torture museum. The yellow page is found in the last prison cell. Jade cross Location: Convent – Calefactory RoomItems needed: Cross Disk Solution: Combine the jade disc with the jade cross and use the buttons to spin the discs to create a closed circuit of lines and make a square. Press the arrows in the following order: RIGHT-DOWN-LEFT-RIGHT-RIGHTUse this on the Chapter House door to unlock it.Notes: The jade cross can be found in the lower area of the museum behind the stairs. Obtain from the jade disc from the library by completing the phone puzzle. Padlocked door in Torture Chamber Location: Convent – Torture MuseumItems needed: Hammer Solution: Interact with the padlock then use the hammer to break it Teleport mirror Location: Convent – Torture MuseumItems needed: Lighter – Hammer Solution: Use the hammer to break the padlock, then use the lighter to light candles around the mirror: bottom left, top left, middle 2 right, bottom rightX0000 X0 XX XNotes: The hint for the mirror can be found in the museum – there is a portrait of a woman looking into a mirror that shows the order in which the candles should be lit Torture Chamber stretcher Location: Convent – Torture Museum (Other side) Solution: Use the lighter to light candles on the mirror to go through to the ‘hell world’. Locate the stretcher and use the turn handle to rip open